I started a new kit today, it is one of two oil loading platforms that will be needed for the oil terminal at Bells on the layout. The kit is from Train Cat Models
First was to remove all the components
Step one was to assembly the fold down platforms that allow access to the tank car
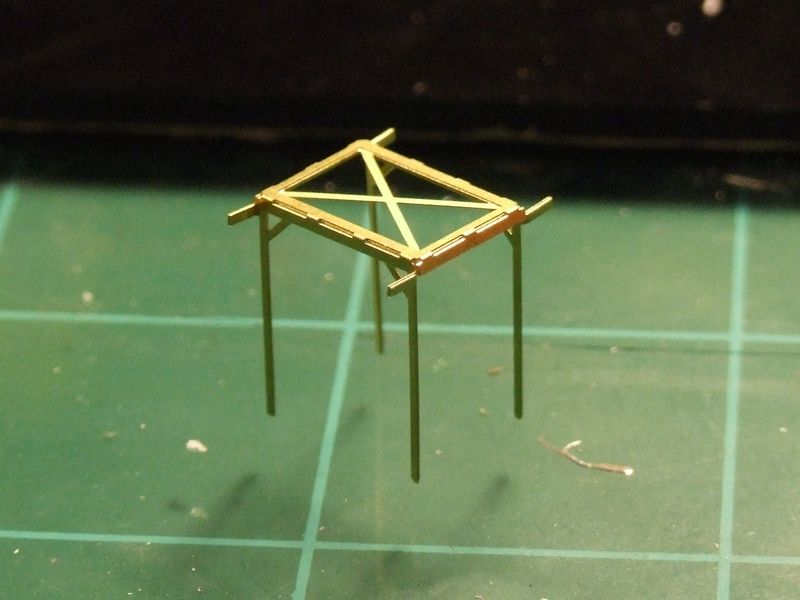
Next was to assembly the main support structure
Next add fold down platforms and legs
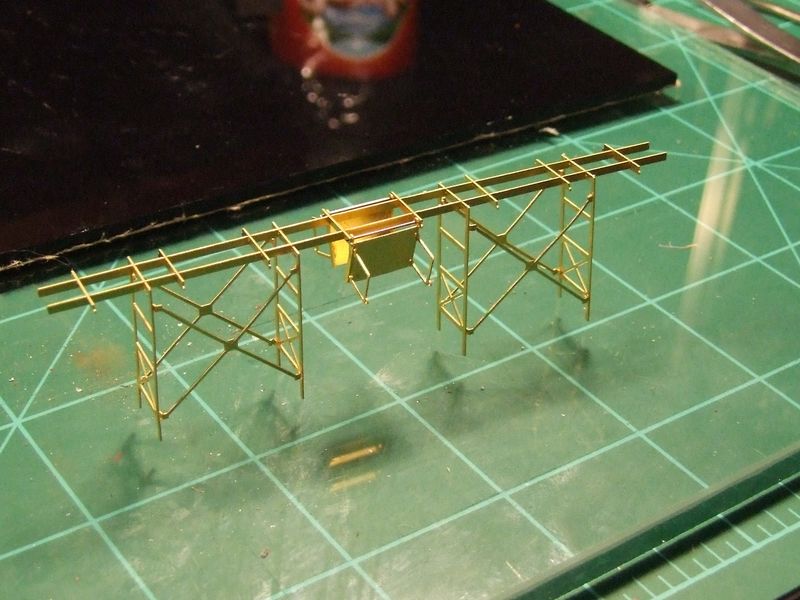
Next cross braces, these were a pain to install, wish the mfg would make them a little long to allow a different approach to installing them.
That's all for today.