Pages

Showing posts with label Benchwork. Show all posts

Saturday, March 5, 2011

Saturday Work Session

Morning session

Finished the backdrop this morning. had couple setbacks during the week with repeat joint cracking.


Afternoon Session

Started adding the first two layers of ceiling tile (approx 1 1/8" or 15 scale feet thick) to form the base or 0" elevation, to allow for any creeks and such. The layout will have two levels, to be added (where needed) by three more layers of ceiling tiles (approx 1 11/16" or  22.5' scale feet thick) this plus road bed should allow for track clearance.

First layer I screw on, so to make it easy to remove if needed and allows for reuse of benchwork. I am also reusing some tiles from my dismantle HO Layout.


Here my preferred choice of adhesive is Loctite Power Grab, heavy duty was used for the backdrop had some left over so I going to use it too. 


I apply a bead around the edges and one down center, then slightly spread the bead out. I do this as the Power Grab only gives you a few seconds to adjust the tile, so I get a smooth and level tile.


Here the far end of the layout done with both layer

I have trim the tile, two ways in the past (1) a drywall saw and (2) Rotozip. Use a downward stroke cut with the drywall saw as a up stroke cut sometime will cause the tile to break were you do not what it.


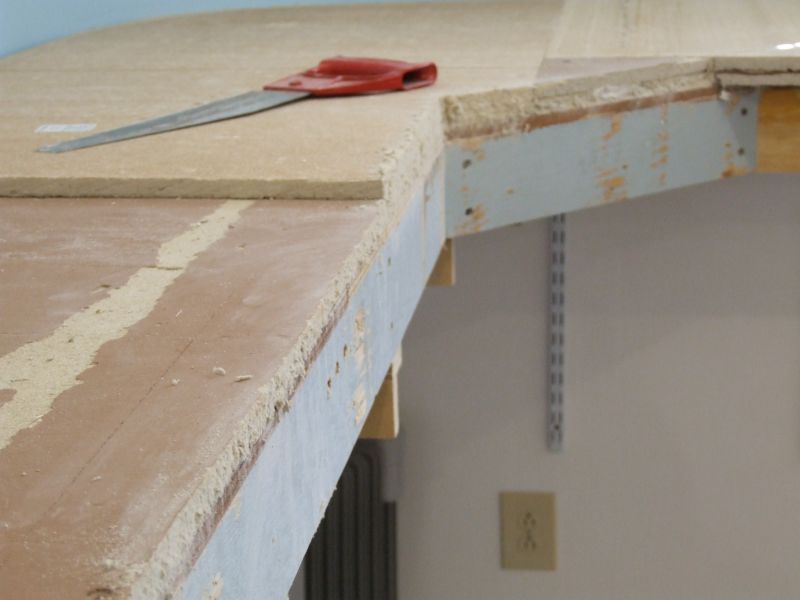
The drywall saw does not give as smooth of a edge as does the rotozip


But the rotozip creates a lot of dust in the air, possible if you have a helper with a shop vac this could be minimized, but the rotozip does a quick job of trimming.

Here were I ended today, tomorrow the other side.


Tuesday, March 1, 2011

Backdrop - Painting

Finally got to apply the primer coat of paint after work this evening. Had some trouble with the joints hope I have solve them.


If things work out, should apply the finish coat tomorrow evening.

Friday, February 25, 2011

Backdrop Installed

Richard and I got the backdrop installed today. Here a finished photo


Now on to floating the joints and painting.

Saturday, February 19, 2011

More Progress Status

Here are some photos of what been accomplished the last few days


Backdrop sealed painted on backside, ready to be install


For the seams I am going to try this tile board divider. Then float out with spackle paste.


I am going to try using Loctite Power Grip to attach the backdrop to the Vertical Metal brackets, so as to not have any screw heads to deal with. (Hope this works)

Saturday, February 12, 2011

More Bench-work Framing

After some Saturday honey-do. I made more progress on the bench-work framing, so far I have been able to re-use the lumber from my old HO layout.

Front Wall


Back Wall


I need to fabricate a knee brace for the two 42" blops. I have make them square for now, may round off later. I have to add some more to the blops, so to slope the edge back to 21" depth bench-work. I am still trying to decide far back to slope. The draft layout plan shows 7'3" back but I am thinking 9'3"

A view from far end of the room, excuse the mess in the other end it is presently a catch-all for stuff. One day I may get my workbench setup and get out of the storage closet space I am using now.

Sunday, February 6, 2011

First Benchwork Framing

Now that the Wall brackets are all up. I started working on the what the depth of my layout would be. I originally thought 18", as I had a couple of sections from the old layout already at 18" depth and could use them as is. During the mock-up and laying some test tracks for the foreground and back mainlines it seem to close so I am going to use 21" depth. We will see how this goes, so here a couple of photos of the frame work for the 21" depth